DCQL: Values Constraint
The DCQL values constraint restricts accepted claim values to a predefined allowed list, enabling a verifier to enforce eligibility criteria directly in the query.
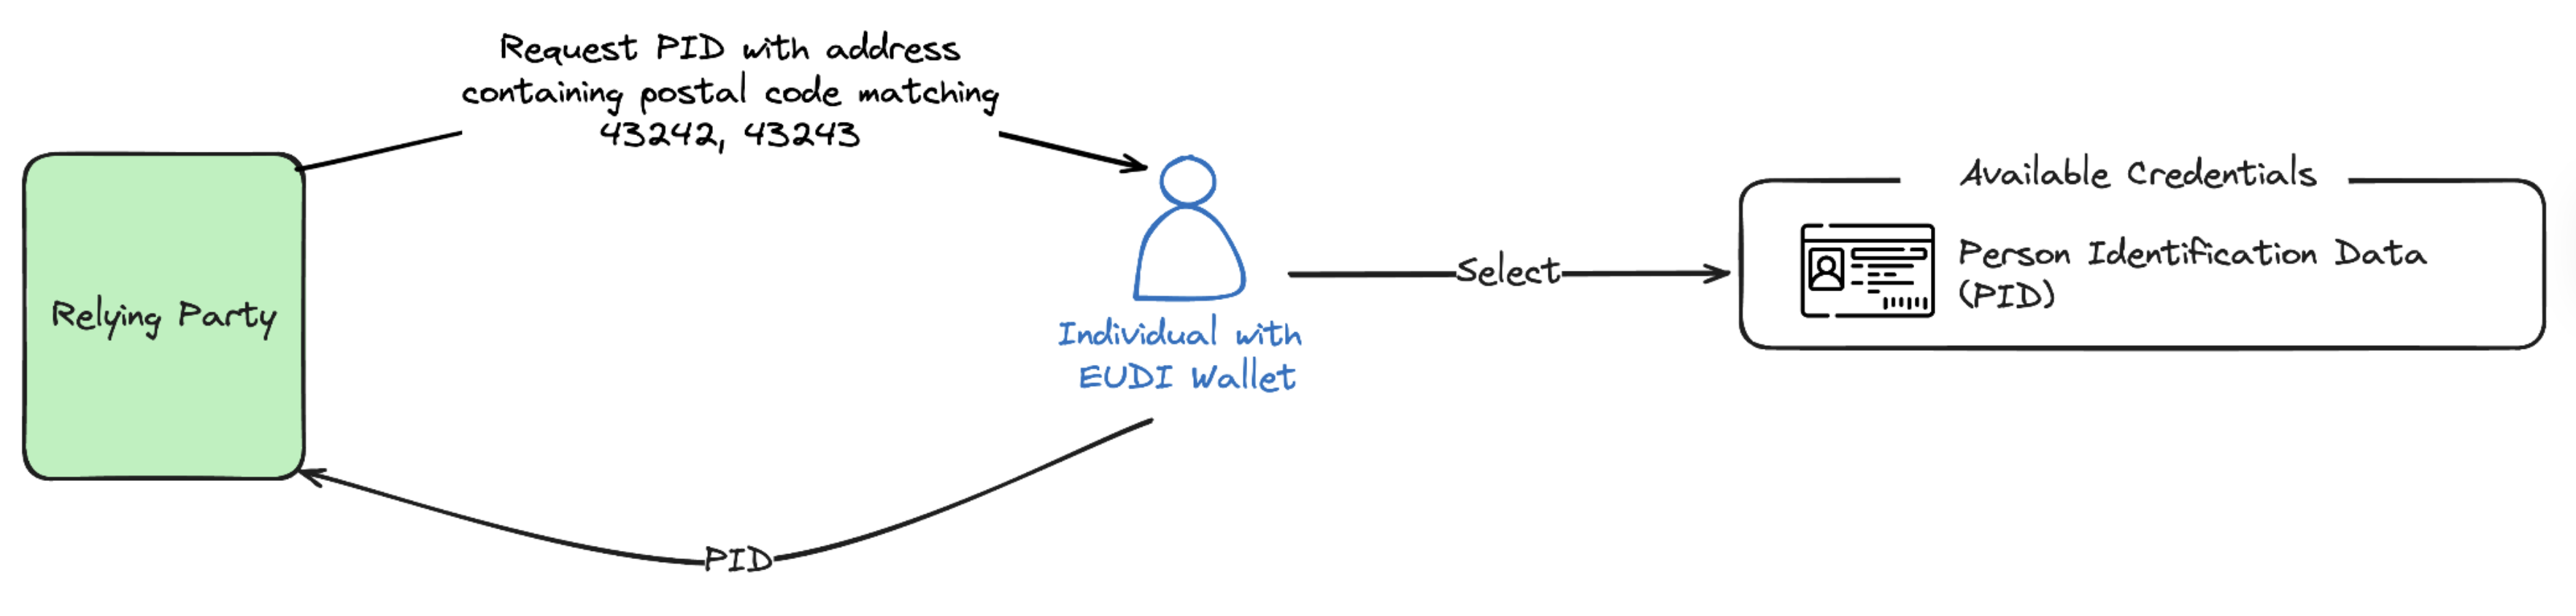
Scenario: A delivery service requests a PID credential (in dc+sd-jwt format) containing the holder's residential address, accepting only postal codes from an allowed list.
For the underlying DCQL query, diagram and example, see the “Delivery service restricted to specific postal codes” use case in our DCQL concepts article.
Step 1: Get the API Key (Issuer Admin)
To obtain your API key, please contact [email protected]. Once you have received your API key, enter it in the field below and click the Set API Key button to save it for future use.
x509 key of your organisation: a key with a certificate chain. After you set the API key, the page fills in such a key. If no key has a certificate, it fills in your default key with did:key, for tests only. To choose another key, click the key label next to a signing key field in a request, for example cryptographicKeyIdentifier. To create a key, attach a certificate or see your keys, follow the key management guide. To add your certificate to the NXD trust list, see trust list registration.Step 2: Create Credential Definition (Issuer Admin)
To create a credential definition, run the JSON body using the Run button. Alternatively, you can manually copy the JSON and use it in the body of the API request available here.
Note: With
cryptographicKeyFormatx509, thecryptographicKeyIdentifiermust be a key of your organisation that has a certificate chain. The page fills in such a key after you set the API key. Use Select key on the request to choose another key, or see the key management guide.
From the API response, the credentialDefinitionId and id value from the credentialDefinitions array are autofilled in Step 3 automatically (and updated whenever Step 2 is re-run).
The issuer can define credential definition for the PID of credential format dc+sd-jwt
Request
Response
Step 3: Issue and Receive Credential (Issuer/Holder)
When you run Step 2 on this page, the credentialDefinitionId and credentials[].id fields below are autofilled automatically (and updated whenever Step 2 is re-run). If you are executing the APIs yourself, replace <credentialDefinitionId> and <id> with the values obtained from Step 2. The holder of the wallet submits a request for the issuance of a credential by executing the JSON code block below using the Run button in InTime issuance mode. Choose the credential format as needed. Alternatively, you may use the API available here.
After receiving the response, toggle the button provided to dynamically generate a QR code. The EUDI Wallet/Holder can then accept the credential offer using the Data Wallet (or any other EU Digital Identity Wallet) by either scanning the QR code or directly accessing the credential offer on their mobile device, such as via a browser.
PID
Person Identification Data (PID) is a standardised European identity credential defined under the EU Digital Identity Framework (eIDAS 2.0). It contains essential personal information including family name, given name, date of birth and address, enabling secure digital identification across EU member states.
Request
Response
After receiving the response, toggle the button provided to dynamically generate a QR code. The EUDI Wallet/Holder can then accept the credential offer using the Data Wallet (or any other EU Digital Identity Wallet) by either scanning the QR code or directly accessing the credential offer on their mobile device, such as via a browser.
Step 4: Create Presentation Definition (Verifier Admin)
To create a presentation definition for requesting proof, you can run the code block below using the Run button. Alternatively, you can manually copy the code block and use it in the body of the API request provided here.
In this use case, the verifier expresses a requirement for a residential address credential where the postal code is in an allowed list of delivery zones.
Request
Response
Once a presentation definition is created, the presentationDefinitionId is autofilled in Step 5 automatically (and updated whenever Step 4 is re-run). You can also reuse the same presentationDefinitionId to verify multiple credentials.
Step 5: Create Verification Request (Verifier/Relying Party)
When you run Step 4 on this page, the presentationDefinitionId field below is autofilled automatically (and updated whenever Step 4 is re-run). If you are executing the APIs yourself, replace <presentationDefinitionId> with the ID obtained in Step 4. To create the verification request, execute the code block below using the Run button. Alternatively, you can manually copy the JSON and use it in the body of the API available here.
After receiving the response, toggle the button provided to dynamically generate a QR code. The EUDI Wallet/Holder can then accept the verification request using the Data Wallet (or any other EU Digital Identity Wallet) by either scanning the QR code or directly accessing the verification request on their mobile device, such as via a browser.
Request
Response
Users can copy the presentationExchangeId from the JSON response for use in Step 8 to read verification history.
Step 6: Send and Receive Verifiable Presentation (Holder)
The holder wallet accepts (consents) to send the requested credentials.
- Receive Verification:
- Use the
vpTokenQrCode(step 5) with the API available here to receive the verification. - Copy the
presentationIdfrom the JSON response received from Receive Verification for use in Step 6b.
- Use the
- Filter Verification:
- Use that
presentationIdwith the API available here to find matching credentials. - Save the
<id>and<credentialId>from the response.
- Use that
- Send Verification:
- Use the
presentationId,<id>and<credentialId>with the API available here to send the credentials to the verifier.
- Use the
Step 7: Send and Receive Verifiable Presentation (Verifier/Relying Party)
- The Verfier (Relying Party) receives the requested credentials and can verify it. They may read the received credential by executing the Read Verification History API.
- From the response received, the
vpTokenResponsecan be decoded using JWT Decoder. - From the decoded response, the
verifiableCredentialinside the 'vp' can be further decoded to view the received credentials.